Installation
As of the 2.0 release the recommended way to install WebThings Gateway is to use the Docker image. There is also an experimental snap package, or you can choose to build from source.
Docker

Once you have installed Docker Engine on your host operating system of choice, downloading and running the WebThings Gateway Docker image can be achieved with a single command.
On Linux:
docker run \
    -d \
    -e TZ=America/Los_Angeles \
    -v /path/to/shared/data:/home/node/.webthings \
    --network="host" \
    --log-opt max-size=1m \
    --log-opt max-file=10 \
    --name webthings-gateway \
    webthingsio/gateway:latest
On Windows or macOS:
docker run \
    -d \
    -p 8080:8080 \
    -p 4443:4443 \
    -e TZ=America/Los_Angeles \
    -v /path/to/shared/data:/home/node/.webthings \
    --log-opt max-size=1m \
    --log-opt max-file=10 \
    --name webthings-gateway \
    webthingsio/gateway:latest
You should change /path/to/shared/data to the location where you would like the gateway to store its local data, e.g. a folder in your home directory.
Once the image has been downloaded and started you should be able to configure the gateway by loading its web interface at https://localhost:8080.
For more options such as customising the timezone, customising the ports the gateway runs on, or giving the Docker image access to certain hardware, please see the Docker README.
Snap

As of the 2.0 release there is also an experimental snap package which you can install on your Linux distribution of choice.
On Ubuntu Server/Ubuntu Desktop:
$ sudo snap install --edge webthings-gateway
$ sudo snap connect webthings-gateway:system-observe
$ sudo snap connect webthings-gateway:hardware-observe
$ sudo snap connect webthings-gateway:network-manager
$ sudo snap set system experimental.hotplug=true
$ sudo snap restart webthings-gateway
On Ubuntu Core:
$ snap install --edge webthings-gateway
$ snap install network-manager
$ snap connect webthings-gateway:system-observe
$ snap connect webthings-gateway:hardware-observe
$ snap connect webthings-gateway:network-manager network-manager:service
$ sudo snap set system experimental.hotplug=true
$ snap restart webthings-gateway
Once the snap package has been installed you should be able to configure the gateway by loading its web interface at https://localhost:8080.
The snap is currently untested on other Linux distributions.
For more options such as giving the snap access to USB devices, please see the snap README.
Build from Source

To build the gateway from source code, please see the README.
Essentially, once you have installed all the build dependencies it's a case of running:
$ git clone https://github.com/WebThingsIO/gateway.git
$ cd gateway
$ npm ci
$ npm start
The gateway's web interface should then be available at http://localhost:8080 by default.
OS images for Raspberry Pi

⚠️ Note: Older versions of the gateway were shipped as a full OS image which could be flashed onto a Raspberry Pi. These images are not currently available for WebThings Gateway 2.0.
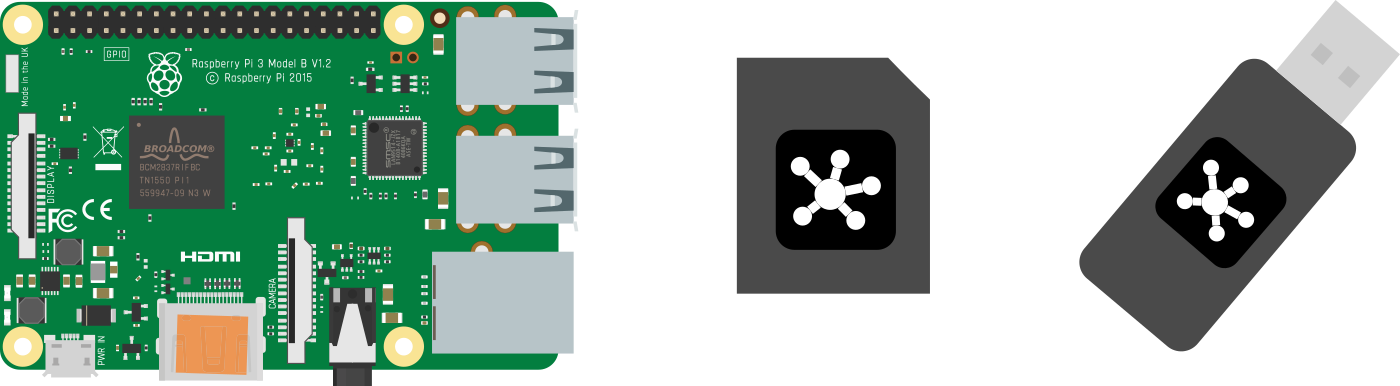
To install WebThings Gateway 1.x on a Raspberry Pi you will need:
- A Raspberry Pi® single board computer (Raspberry Pi 3 or 4 recommended, Pi 5 not yet supported) and power supply
- A microSD card (At least 8GB, class 10 recommended)
- USB dongles (Optional, see the list of supported hardware)
🗒️ Note: The Raspberry Pi 3 and 4 come with Wi-Fi and Bluetooth radios. The USB dongles are needed if you want to support other smart home protocols like Zigbee and Z-Wave.
1. Download Image
First download the latest 1.x gateway image from the WebThings website.
2. Flash Image
Next you will need to flash the downloaded image onto your microSD card. There are various methods of doing this but we recommend using Etcher.
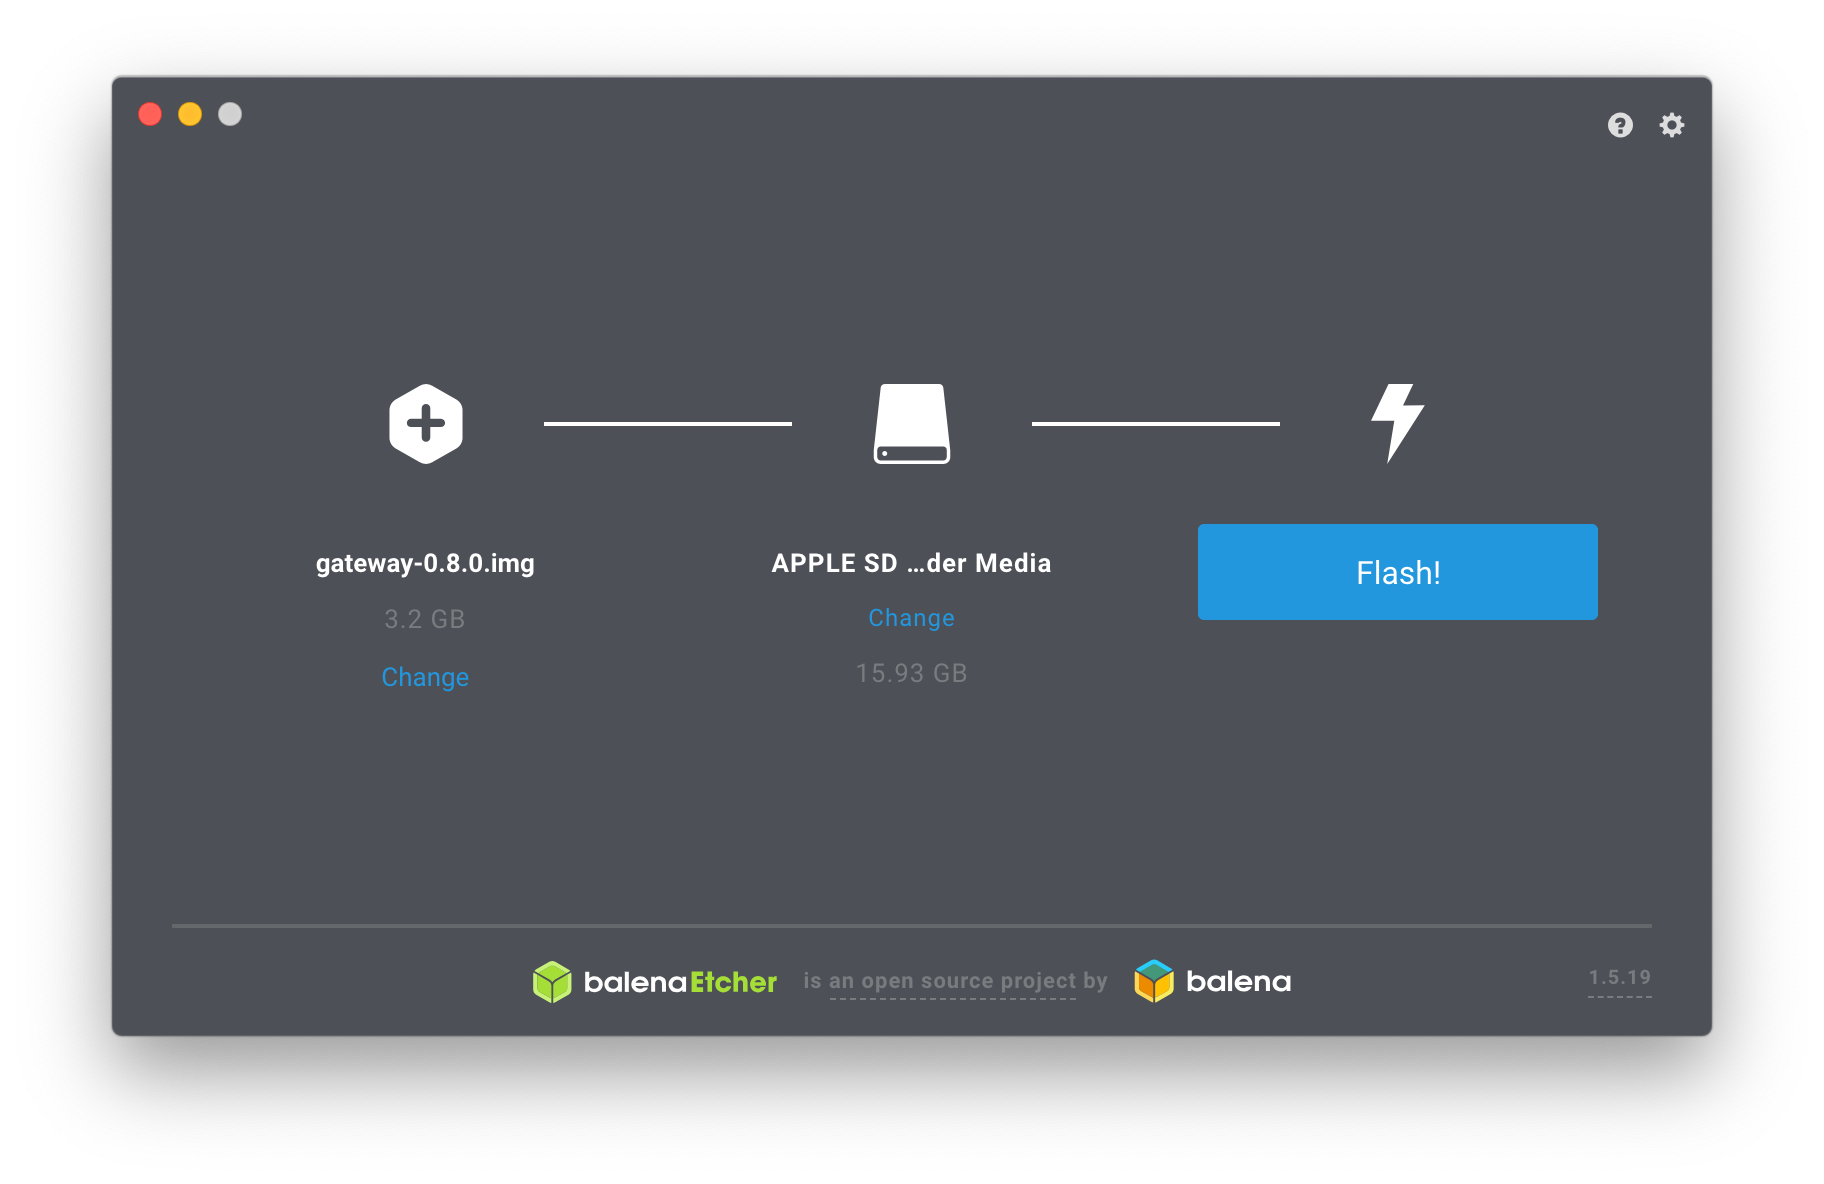
- Open Etcher
- Insert your SD card into an SD card reader attached to your computer
- Select the downloaded image as the source file
- Select your SD card as the target
- Click "Flash!"
Once flashing is complete, remove the microSD card.
3. Boot Raspberry Pi
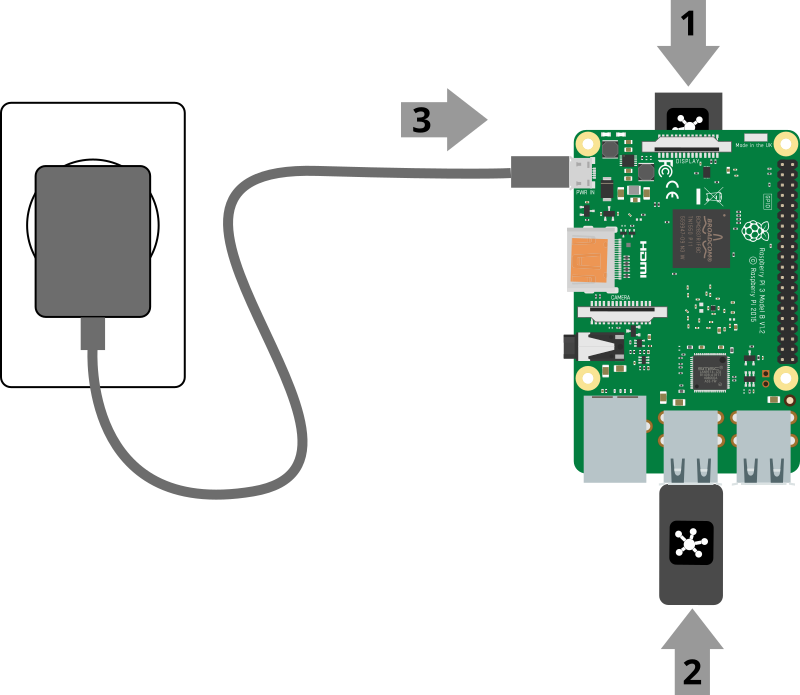
- Insert the flashed microSD card into your Raspberry Pi
- Plug in any USB dongles
- Connect the power supply to boot the Pi
- Check that the LEDs light up: red indicates power, green indicates activity
- Wait a few minutes for the software to boot
🗒️ Note: On first boot the Raspberry Pi may take an additional 2-3 minutes longer to boot in order to take care of some first time setup.